Top 12 Must-Have Supplies for Oil Painting: Budget Friendly & For New Artists
Discover the essential art supplies that, in my opinion, every oil painter needs to create stunning masterpieces. All items will have budget friendly alternatives so that we all can join in the art! All of these items and tips are my personal opinions. Safety precautions should be followed according to the instructions for the products you are using. Swim at your own risk, beebees!
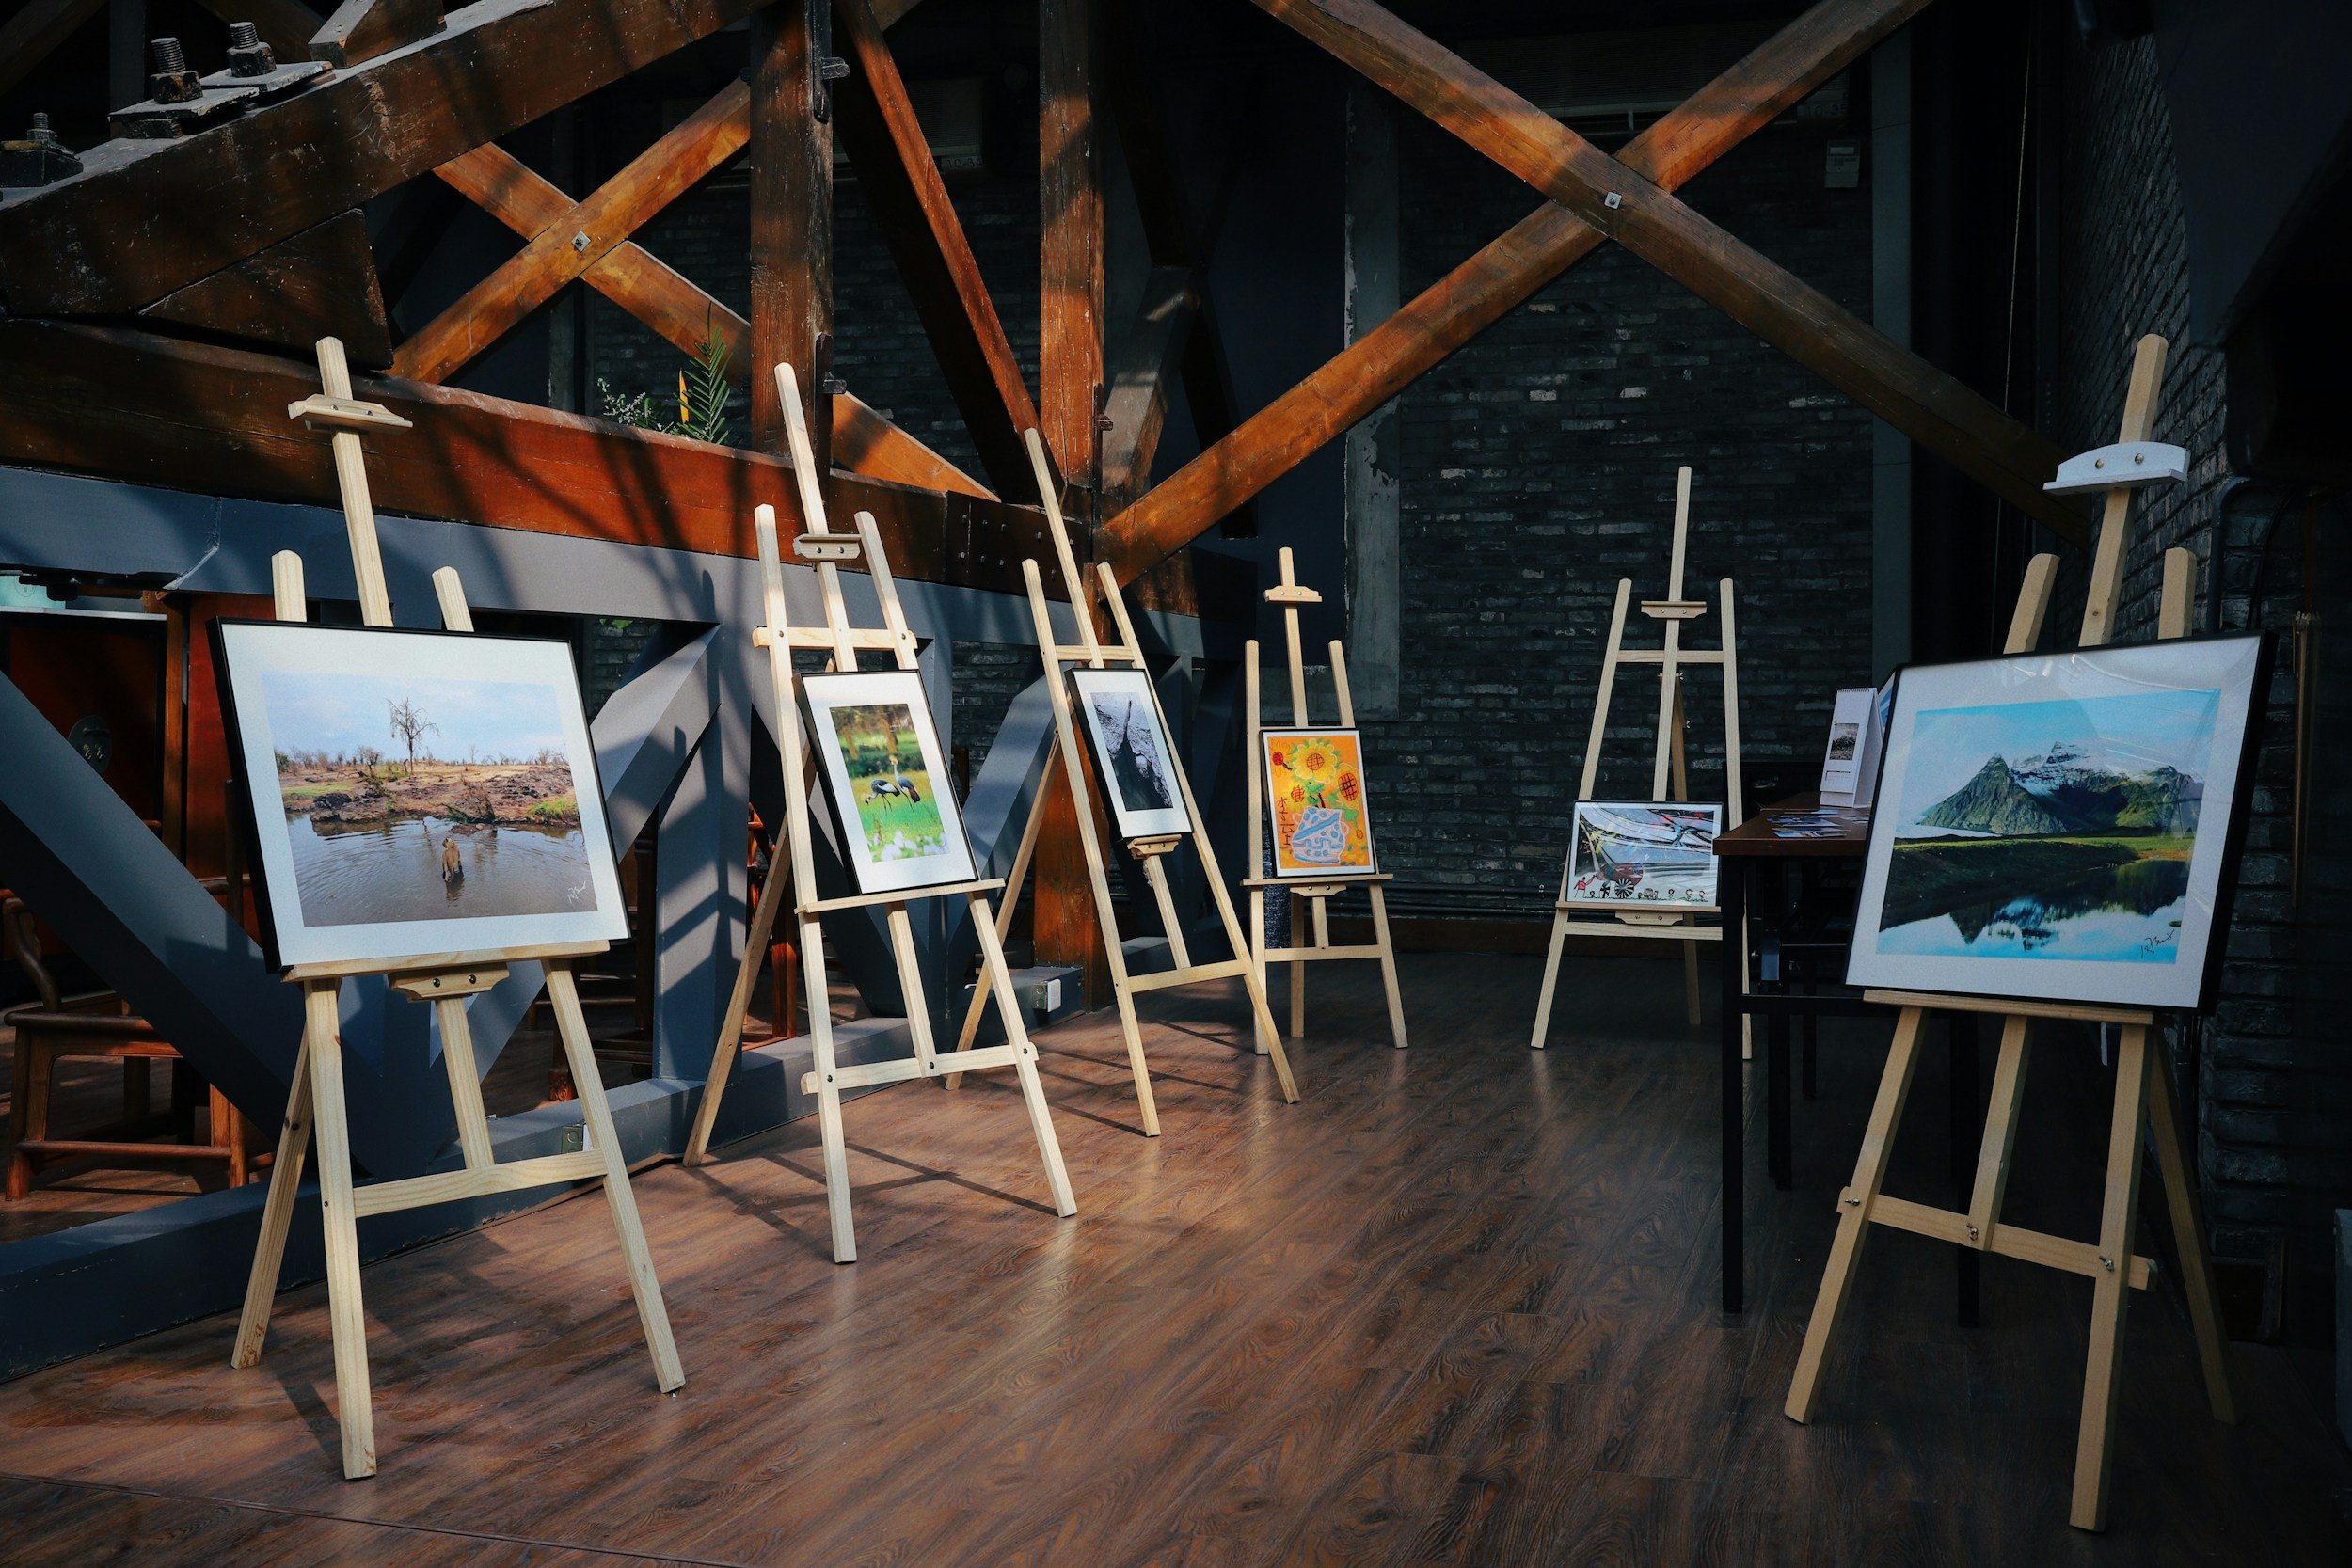
Setting up Your Workspace
When it comes to oil painting, having a well-organized and comfortable workspace is crucial. Start by finding a well-lit area where you can set up your easel and paint supplies. Make sure you have enough room to move around and access your materials easily. Consider investing in a sturdy table or easel that can hold your canvas securely. I do not count this as one of my top twelve items because I assume we all have a table on hand…if not, consider this item number 0. Arrange your paints, brushes, and other tools in a way that is convenient for you to work efficiently. Having a dedicated space for your oil painting practice will help you stay focused and inspired.
Item 1: Glass Palette
Recommended: Glass Palette or Photo Frame (with glass)
Budget Friendly: Baking Paper and Tape
The first item that I have to recommend is a glass palette. Glass palettes are the most important and game changing parts of painting, both with oils and acrylic paints. The great thing about glass palettes are that they are solid, will not bend, and can be scraped with a glass scraper for easy cleaning. A great alternative to a glass palettes are photo frames like these (the larger, the better). Glass frames tend to work well in exchange for a glass palette, but I recommend putting a grey colored piece of paper behind the glass so that you are working on a neutral color. This will help with your color matching. Using glass will ensure you are capable of a clean workspace after every project since the glass is easily scraped.
For a budget friendly version, I do not recommend wooden or acrylic palettes, but instead, parchment/baking paper. Baking paper is a great tool to have on hand for painting and, when taped down securely to the table, serves as a great place to mix paints. At the end of the painting session, the paper is easily discarded (appropriately) making cleanup much easier! Note that the downside of this method is if you are an agressive mixer, you might rip through the paper. Be gentle and you will be fine!
Item 2: Box Fan
Recommended: Box Fan (Large)
Budget Friendly: Desk Fan (Small) or Clip-On Fan
Another important aspect of setting up your workspace is ensuring proper ventilation. Oil paints and mediums can emit fumes that may be harmful if inhaled in large quantities. If possible, paint in a well-ventilated area or use a ventilation system to remove any potentially harmful fumes from the air. This will not only create a safer environment for you but also help your paintings dry properly. While I admit that I am lucky enough to live in a place where I have access to a well-spaced garage or large open windows, many of us are not so lucky. In cases like this, I recommend using a box fan to push air out of your painting area and either towards your windows or just out of the area. Box fans are good sized and powerful enough to really push that air around.
For a more budget friendly option, I recommend either a small, desk sized fan or a clip on fan. It is important, in my opinion, to not have fumes lingering around you as you are painting. Even a small fan is better than no fan! Get those fumes away from my face! (Latrice Royale reference, anyone?)

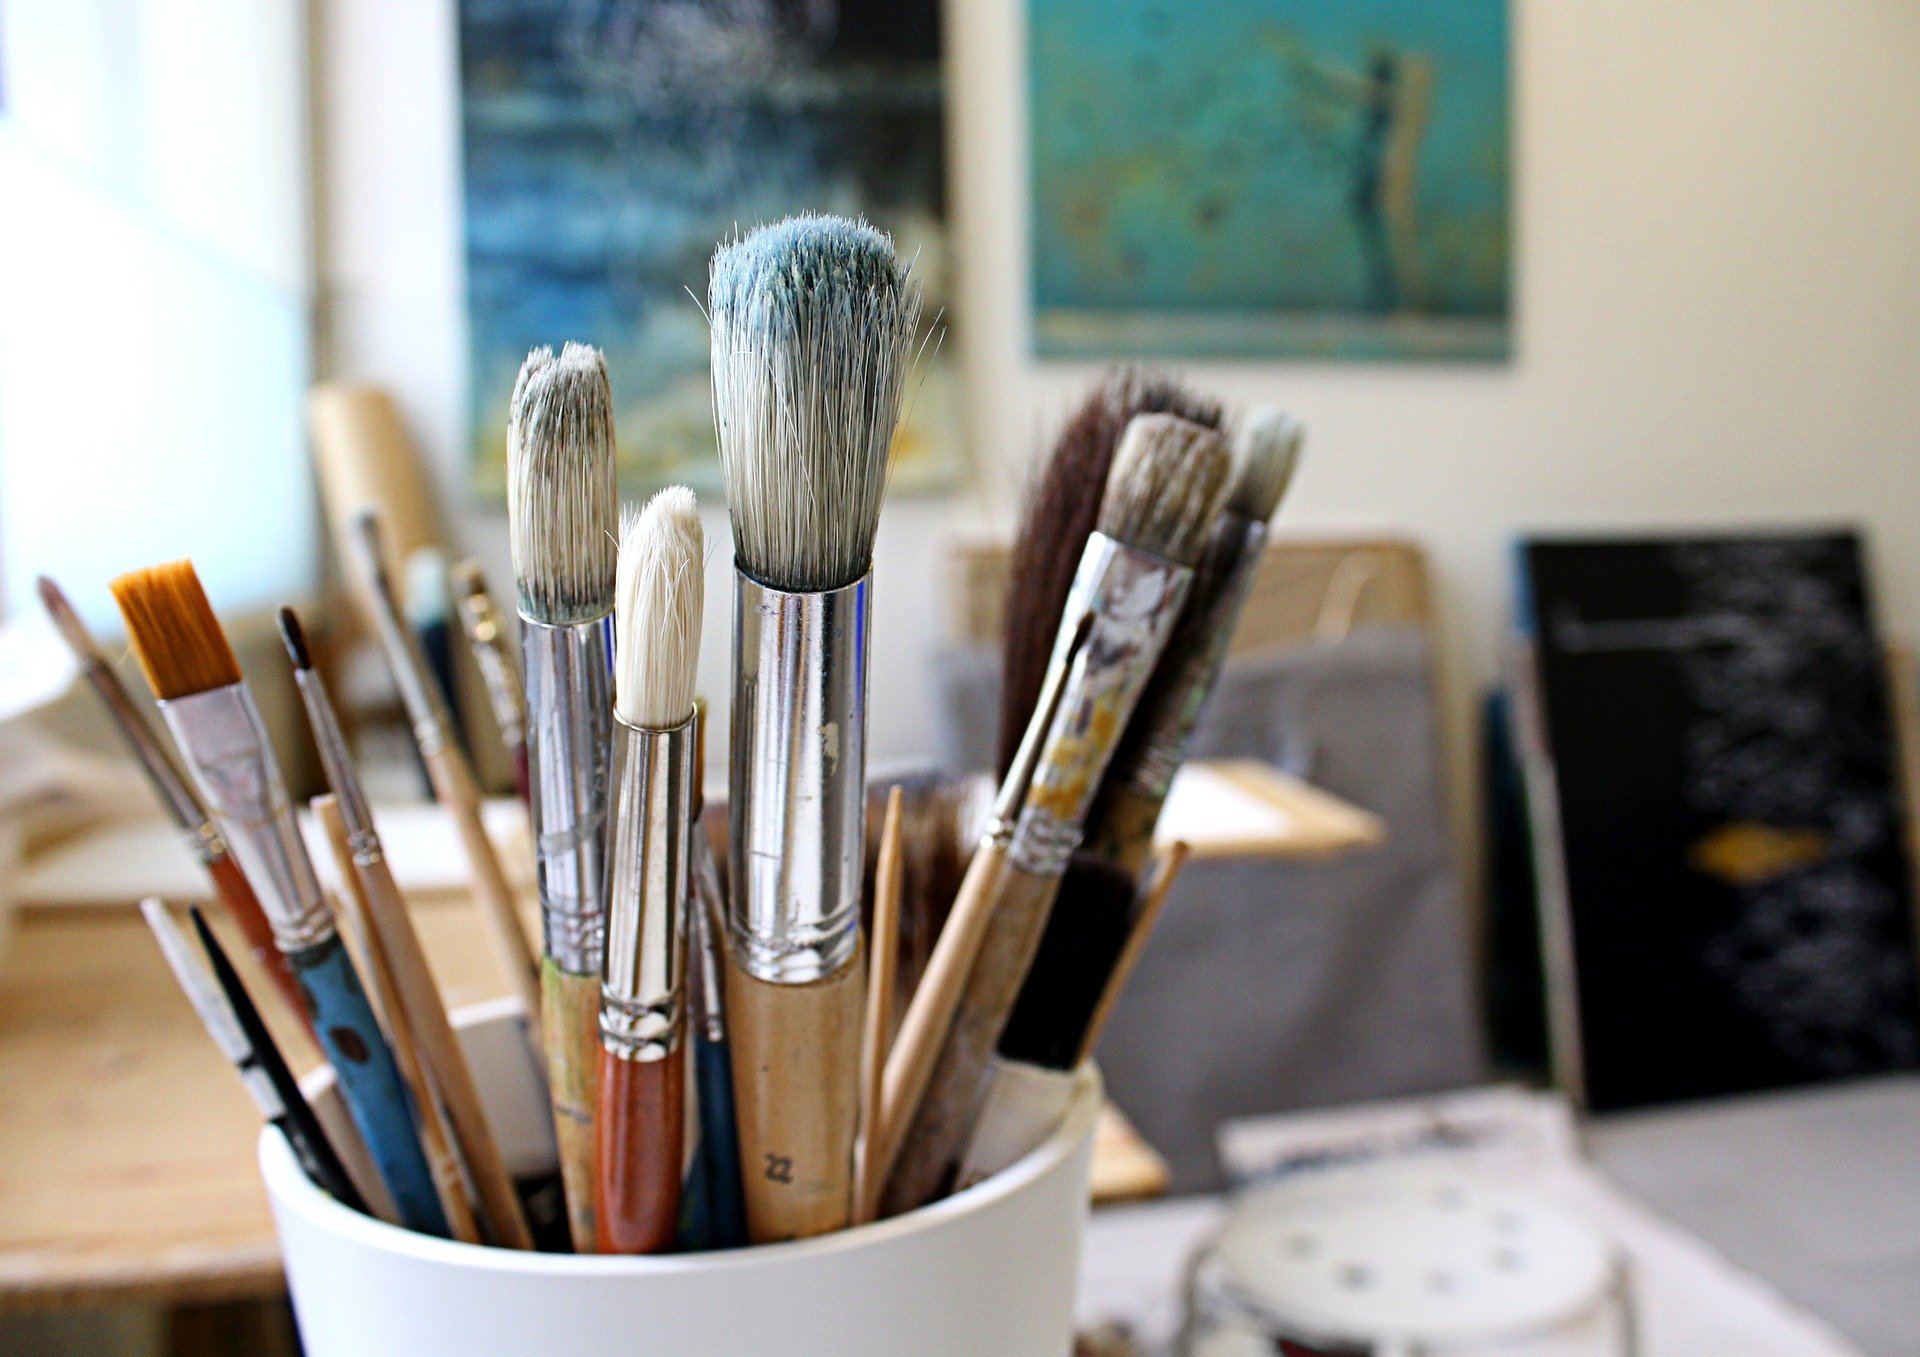
Quality Brushes and Palette Knives
Having a set of high-quality brushes and palette knives is essential for achieving the desired effects in your oil paintings. Brushes come in various shapes and sizes, each designed for different purposes. Some commonly used brushes for oil painting include flat brushes, round brushes, filbert brushes, and fan brushes.
Flat brushes are ideal for creating bold, sweeping strokes and covering large areas. Round brushes are versatile and can be used for both detailed work and broader strokes. Filbert brushes have a rounded edge that allows for more control and can be used for blending and creating soft edges. Fan brushes have bristles spread out in a fan shape and are great for creating textures and special effects. Fan brushes help me get really nice blends, too!
Items 3 & 4: Hog Bristle Brushes and Fine Paint Brushes
Recommended: Connoisseur Brush Hog Bristle (Long Handle) and Fine Paint Brushes (Set of 10)
Budget Friendly: Oil Paint Brush Set
Regardless of the brushes you get, I recommend you try different fibers/bristles, brands, sizes, lengths, and shapes. Asking about someone’s favorite brush is a loaded question and boils down to personal preference. The Connoisseur Brush Hog Bristle brushes listed above are my personal favorites. I purchased a few of these in varying sizes and have fallen in love with their crisp snap back straight (nothing worse than a floppy tip, am I right ladies?) and how well they move around the paint. In addition to those brushes, I strongly encourage a set of miniature fine brushes as well. There are tons of sets like the one linked above, but make sure to get one that has long bristles. Long, fine bristles are important for getting straight/flat lines.
Remaining budget friendly, I would recommend a set of oil paint brushes that includes many sizes and shapes. The set linked above are a great deal. At the time of writing, the set costs $18.59 and includes 32 different brushes, all of which are different shapes and sizes. It even includes 2 fine point brushes. While you will not get to experience varying fibers, you simply cannot beat the value of this deal.
Item 5: Good Palette Knives
Recommended: KINGART Stainless Steel Palette Knife - Trowel Shape
Budget Friendly: Palette Knife Set (5 Pack)
Palette knives are used for mixing colors on the palette and applying thick layers of paint to your artwork. They come in various shapes and sizes, each offering a different texture and effect. Experiment with different palette knives to find the ones that suit your painting style and techniques. The best quality palette knives that I would recommend are ones that are made of metal and are shaped like a drop of water, also known as a trowel shape (like linked above). In a perfect world, I would recommend a couple of different shaped and sized knives. Like brushes, palette knives are a personal preference.
Do not, I repeat, DO NOT purchase the pastic palette knives. They are horrible and you will get frustrated immediately with mixing if you go that route.
Budget friendly alternatives are out there and are good starters. Sets can be purchased rather inexpensively, however you may notice that the metal snaps easier, the mixing edge might bend easy, or the knife itself might not be flexible at all. If you purchase a set like this and find you are having issues mixing, do not give up, but try a slightly more expensive knife.
It is important to remember that when it comes to choosing brushes and palette knives, invest in high-quality ones made from natural bristles or synthetic fibers. Good quality brushes and palette knives will not only last longer but also provide better control and precision in your paintings. When you are first starting, do not go overboard. Get a set like the ones listed above and, if you can, get one of the Connoisseur brushes. This will give you a good comparison of synthetic and natural fibers and how they are different. Once you know your likes and dislikes, it is definitely time to splurge and double down on the brush types/styles that fit your art. Good brushes make good art, in my opinion.
Painting Surfaces
Choosing the right surface to paint on is crucial for the success of your oil paintings. There are various options available, each offering a different texture and finish. Some commonly used surfaces for oil painting include stretched canvas, canvas boards, and wooden panels.
Stretched canvas is a popular choice among oil painters as it provides a flexible and durable surface. It comes in various sizes and can be easily mounted on an easel or a wall.
Wooden panels offer a smooth and sturdy surface for oil painting. They can be primed with gesso to create a non-absorbent surface that allows for better paint adhesion. Wooden panels are also less prone to warping and can be easily framed without the need for stretching.
Item 6: Canvas Boards
Recommended & Budget Friendly: Canvas Board (Multi-sized Multipack)
Canvas boards are made by mounting canvas onto a rigid board. They are lightweight and easy to transport, making them a great option for plein air painting. For new artists, they are extremely space efficient surfaces. As a new artist, you will be running through canvases or boards quickly. Having too many stretched canvases can be a pain to store. Additionally, inexpensive stretched canvas usually is not pulled tight enough on the frame, causing a saggy painting. Canvas boards do not have that problem. Even the most inexpensive canvas board is my preference over a stretched canvas. They are also usually much more budget friendly than canvases!
There is one downside of canvas boards - they are not hangable as is. In order to hang a canvas board, you will need to use adhesives like Command Strips or purchase frames to fit your artwork. As a beginner, I did not find that my paintings were worthy of hanging, so this did not become an issue for me until a few years down the line. Unless you are Picasso, you should be fine starting with canvas boards.
When choosing a surface, consider the size and subject matter of your painting. Larger paintings may require a stretched canvas or wooden panel for support, while smaller studies can be done on canvas boards. Experiment with different surfaces to find the ones that best suit your painting style and techniques.

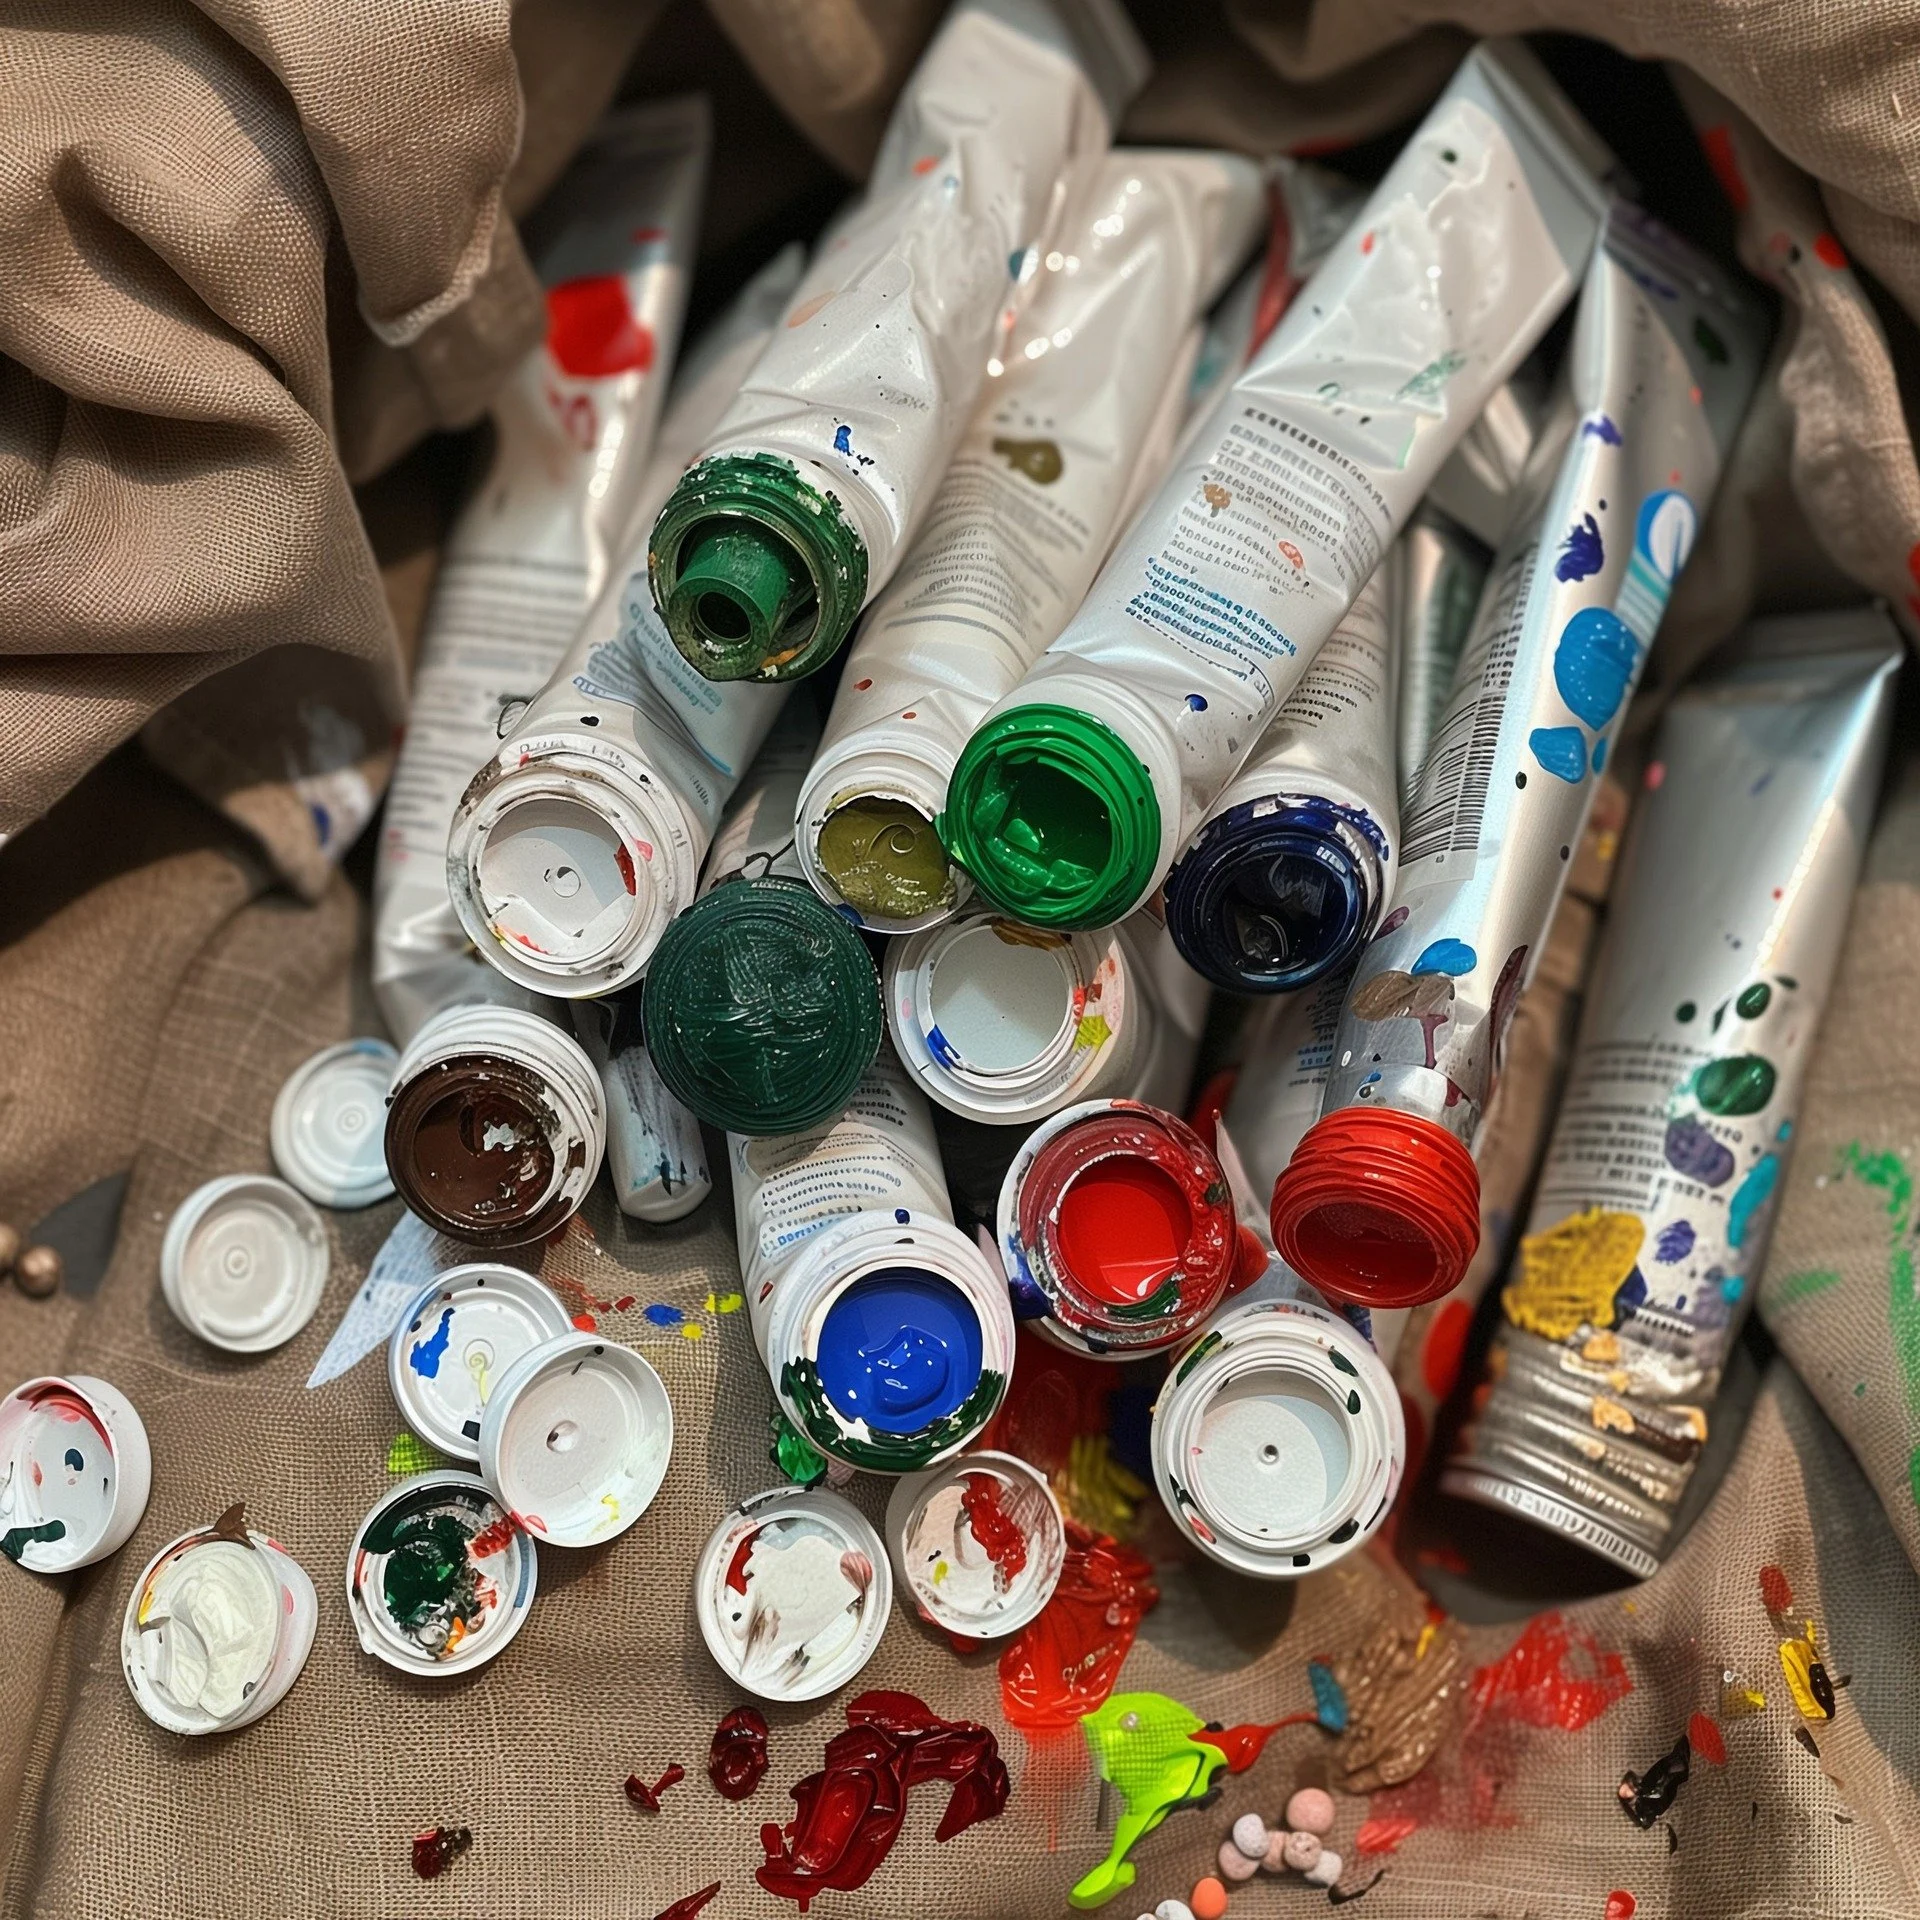
Essential Paints - Colors & Mediums
Building a basic palette of essential paint colors is essential for any oil painter. While the choice of colors may vary depending on your personal style and preferences, there are a few colors that are commonly used in oil painting. These include Titanium White, Cadmium Yellow, Cadmium Red, Ultramarine Blue, Burnt Sienna, and Ivory Black.
Titanium White is a versatile color that is used to create highlights, tints, and mix with other colors to create various
shades. Cadmium Yellow and Cadmium Red are vibrant, opaque colors that can be used to create a wide range of hues. Ultramarine Blue is a rich, deep blue that is often used for creating shadows and cool tones. Burnt Sienna is a warm, earthy color that can be used for underpainting and creating warm tones. Ivory Black is a dark, neutral color that can be used to create shadows and mix with other colors to create darker shades.
Of course, these are just a few examples of essential paint colors. Feel free to experiment with different colors and find the ones that work best for your style and subject matter. Remember, the quality of the paint is also important, so invest in artist-grade paints that have a higher pigment concentration and better lightfastness.
Item 7: Oil Paints
Recommended: Winsor & Newton Artisan Water-Mixable Oil Colors (Set of 6)
Budget Friendly: Winsor & Newton Artisan Water Mixable Oil Color Paint (Set of 20)
Canvas boards are made by As a new oil painter, I recommend giving water soluble oil paints a try. These are (still) my preferred medium. They are made with binders and mediums that break down in water making cleanup a breeze. They act extremely similarly to normal oil paints and come in great sets from well known paint makers. Winsor & Newton have the best selection, but Cobra and Georgian paints have lines of water soluble oils that are compatible with each other. I use mainly all Winsor & Newton, except for a few colors that only Cobra makes, particularly transparent red iron oxide.
You can mix water soluble oil paints and conventional oil paints, too, just remember that once they are mixed, they should not be considered water soluble anymore and should be disposed of appropriately. Hot tip! Purchase a large tube of white in addition to whatever paints you select. Whites are the most used paints on my palette. I recommend a large tube of Winsor & Newton Titanium White.
Items 8 & 9: Solvents/Mediums
Recommended: Winsor & Newton Artisan Thinner and Winsor & Newton Artisan Painting Medium
Budget Friendly: Water - can’t beat that price!
This is going to sound like a contradictory sentence, but even with water soluble oil paints, I have found solvents and mediums to be life changing. If you are on board with me in using the water soluble oils, you will find that water is easily enough to thin down your paints and extend their use on your canvas. Until recently, that’s all I used! On a trip to San Francisco last year, I found an art shop with two products that I hadn’t seen before in the water soluble oils world. Winsor & Newton, along with other brands that I have recently found out, have lines of mediums and solvents that work with their water soluble oils.
The Winsor & Newton Artisan Thinner is one of my favorite additions to my palette, but I will note that it should be used sparingly. Thinners contain fumes regardless of whether or not they are water soluble or conventional thinners. I use a small drop of the thinner in my paints to make them thinner and more liquid. This is extremely useful for underpainting because once the paint and thinner is placed on the canvas, it tends to dry quickly, too.
When I need to extend the flow of my paints, I use the Winsor & Newton Artisan Painting Medium. This is a great addition to your palette when you want to thin your paints and make them more flowing, but do not want them as thin as you would get with the thinner. Again, use sparingly! There is no need to go overboard with these mediums especially as a beginner.
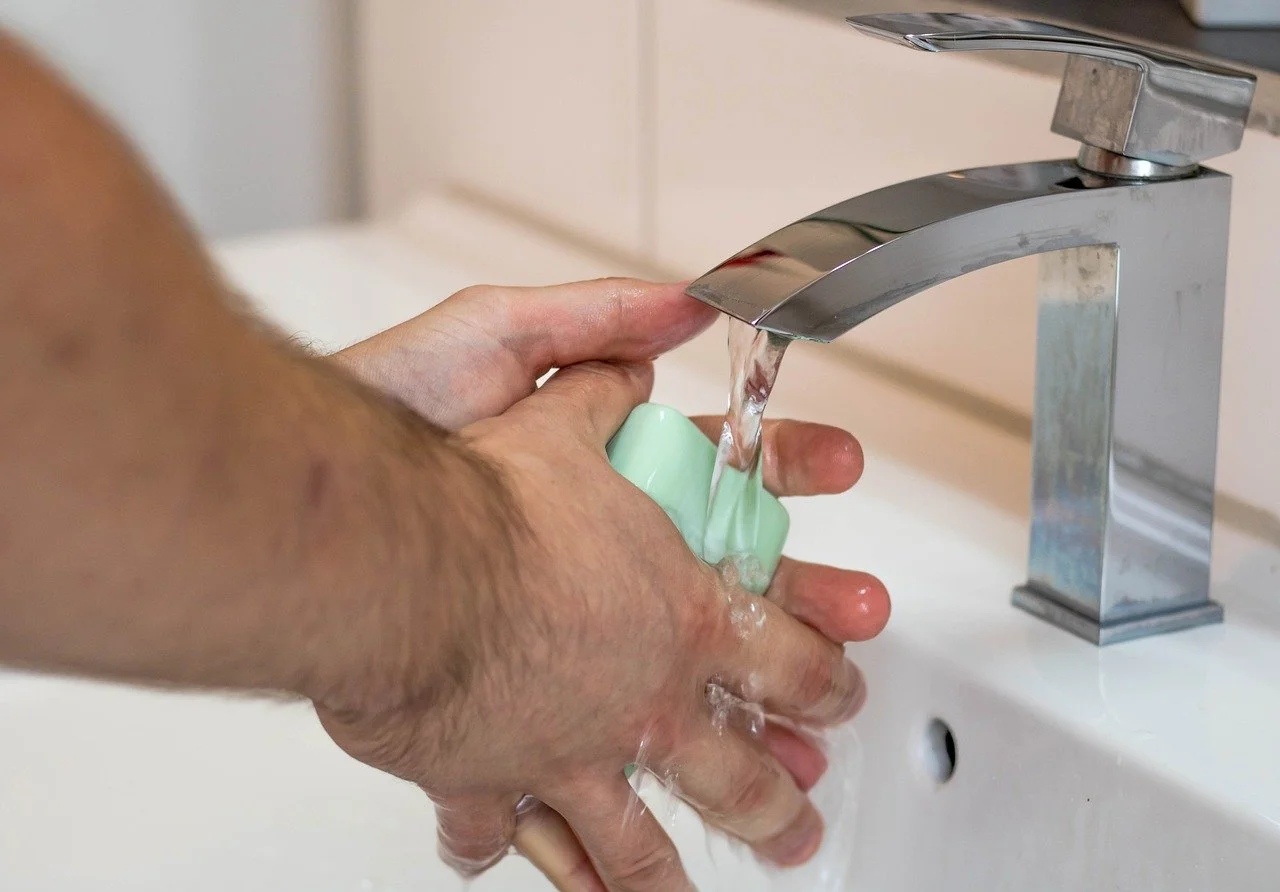
Cleaning and Maintenance Tools
Proper cleaning and maintenance of your oil painting supplies are essential for their longevity and performance. Here are some essential tools and techniques to keep your brushes, palette, and other materials in good condition:
- Clean your brushes thoroughly after each painting session. Use a gentle brush cleaner or mild soap and warm water to remove any paint residue. Avoid harsh solvents as they can damage the bristles. Gently reshape the bristles and lay the brushes flat to dry.
Item 10: Brush Cleaners
Recommended: Bristle Magic Paint Brush Cleaner & Reconditioner
Budget Friendly: General Pencil Company The Masters Brush Cleaner & Preserver
Until recently, I found that a bar of soap did the trick when it came to cleaning my brushes. When I tried out the two soaps listed above, my mind was blown. Your brushes will feel brand new if you clean them promptly after painting. Full transparency, cleaning brushes is a controversial topic with many people cleaning their brushes rarely. I am on the “clean after every use” side of the argument, largely because I don’t like getting messy mixes of colors when you have an old color on your brush.
These soaps are my favorites! I prefer the Bristle Magic cleaner because it comes in liquid form. I have a small glass jar of the cleaner next to my sink and when I clean my brushes, I dip them in the cleaner then wash the brushes in my hands. I find this to be the quickest cleanup method. The General Pencil Company cleaner is great too, however I found that I needed to purchase it more frequently than the other cleaner. I think I tended to use more of it each time I cleanded the brushes compared to the liquid soap.
- Store your paints in a cool, dry place away from direct sunlight. Extreme temperatures and humidity can affect the quality and consistency of the paint. Make sure the paint tubes are tightly closed to prevent them from drying out.
- Regularly inspect your brushes, palette knives, and other tools for any signs of wear or damage. Replace them if necessary to ensure optimal performance.
- Keep your palette clean by scraping off any excess paint and wiping it with a damp cloth or paper towel. If the paint has dried, you can use a palette knife to scrape it off. Avoid using excessive force as it may damage the palette surface.
Items 11 & 12: Paint Scrapers & Paper Towels
Recommended & Budget Friendly: Gomake Locking Razor Blade Scraper and Amazon Basics 2-Ply Paper Towels
Do not skip on these. Easily the easiest way to clean your palette. If you are using a glass palette, the scraper won’t even scratch your surface! Note, do not buy plastic bladed scrapers. They do not work! I scrape all of the paint off with the scraper and then clean the blade off in the paper towels. Simple, easy to dispose of (appropriately), and mess free!
By following these cleaning and maintenance practices, you can prolong the life of your art supplies and ensure that they continue to perform at their best.
If you found this list of recommended items helpful, let me know below. Are there other items that you think should be on the list? What are some supplies that you cannot live without.
Share this with all of your art friends. Spread the love of art!